Step-by-step walkthrough

From install
to your first fix.

Exactly what you'll see the first time you open SEO Fire, and how to use each of its four tools — Scan Page, Scan Entire Store, Broken Links & Redirects, and Local SEO.

Before you start

Installing the app.

One thing to know before your first scan.

Install SEO Fire from the Shopify App Store the same way as any other app — from your Shopify admin, go to Apps and search for "SEO Fire," or use the install link from your plan page. Shopify will ask you to approve the permissions SEO Fire needs (reading and updating your store's pages and products); once you approve, you're dropped straight into the app itself — no separate account or sign-up step.

Every new install starts on a 7-day free trial with 25 scans. A "scan" is spent the first time you check a given page in a billing period — checking the same page again to verify a fix, in the same period, is free.

Step 1

The home screen.

This is what you'll see every time you open SEO Fire from your Shopify admin.

HOME

Three ways to start.

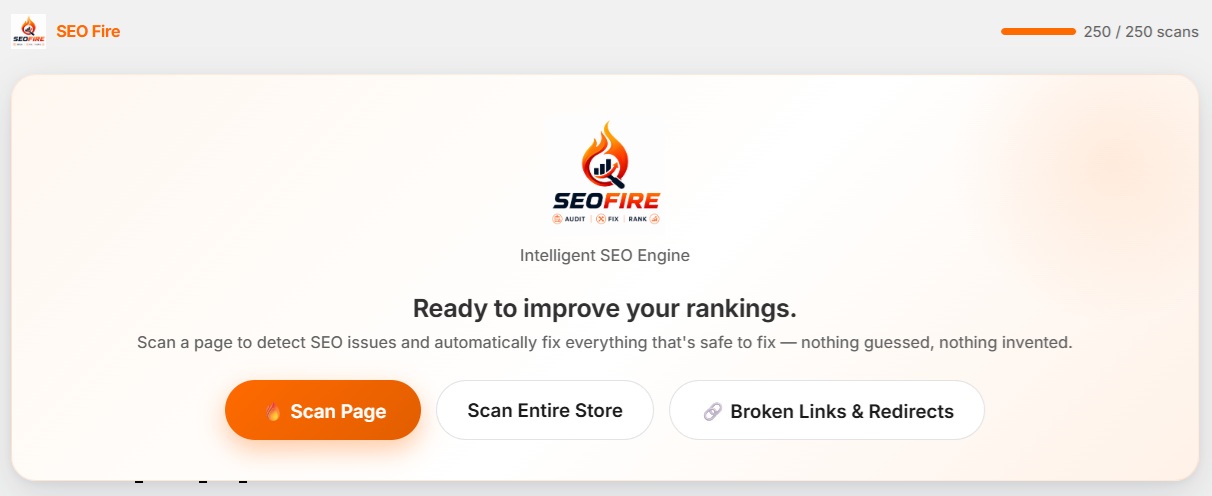
The home screen greets you with "Ready to improve your rankings" and three buttons:

  • 🔥 Scan Page — check exactly one page you pick. The fast, everyday option.
  • Scan Entire Store — check up to 25 pages at once, including product titles.
  • 🔗 Broken Links & Redirects — a separate, deeper check of every link, image, script, and redirect on one page.

At the top right you'll always see your scan usage for the current period — for example "23 / 25 scans · 5d left" — so you always know where you stand before starting another scan.
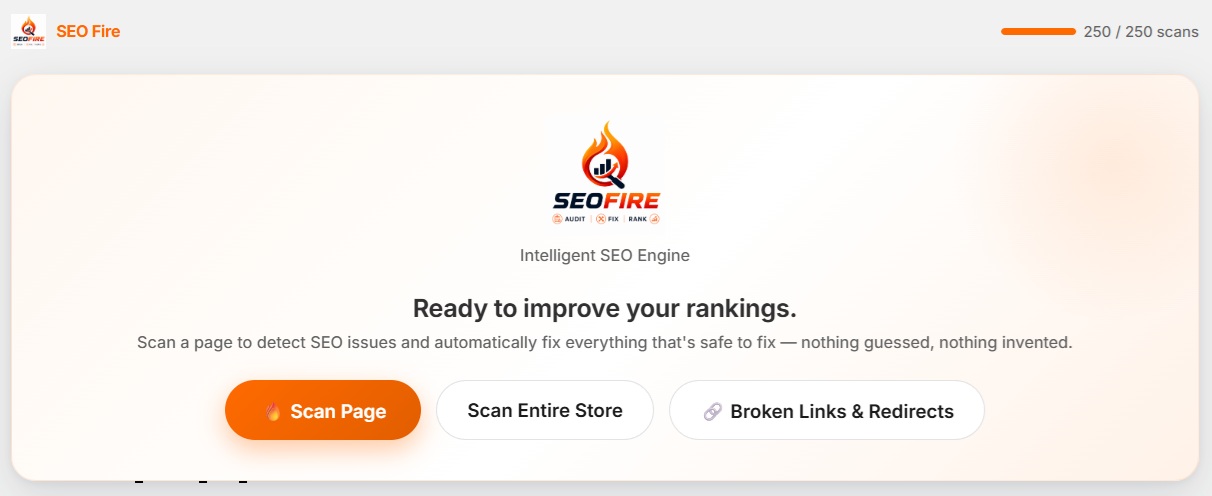
SEO Fire home screen with Scan Page, Scan Entire Store, and Broken Links & Redirects buttons
Home screen — captured from the live app, dashboard view.
Step 2

Scan Page.

The tool you'll use most — checking one specific page, start to finish.

2.1

Pick a page.

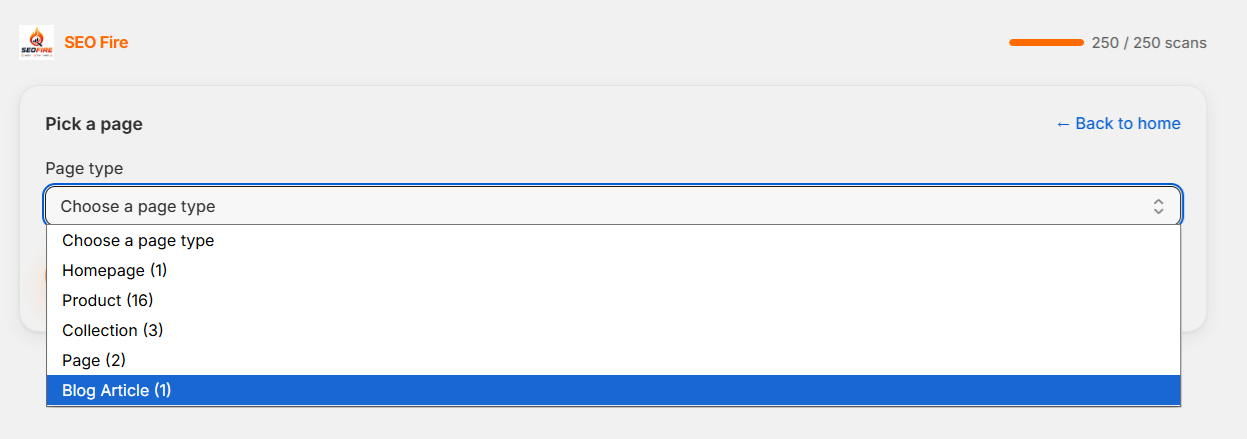
Click Scan Page from the home screen. You'll land on "Pick a page," with a Page type dropdown listing every type of page on your store and how many of each exist — Homepage, Product, Collection, Page, Blog Article. Choose a type; if there's more than one page of that type, a second dropdown lets you pick the specific one.

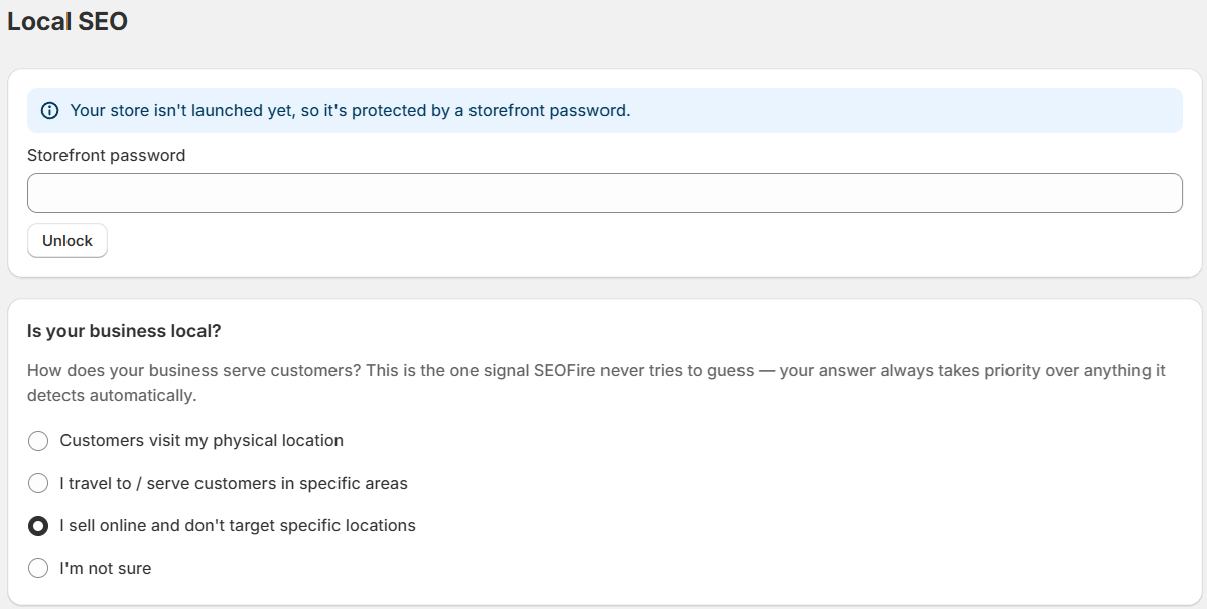
If your store isn't launched yet, Shopify protects it with a storefront password. SEO Fire will ask for it once before it can check the live page — find it under Online Store > Preferences in your Shopify admin.
Pick a page screen with the Page type dropdown open
Page picker.
2.2

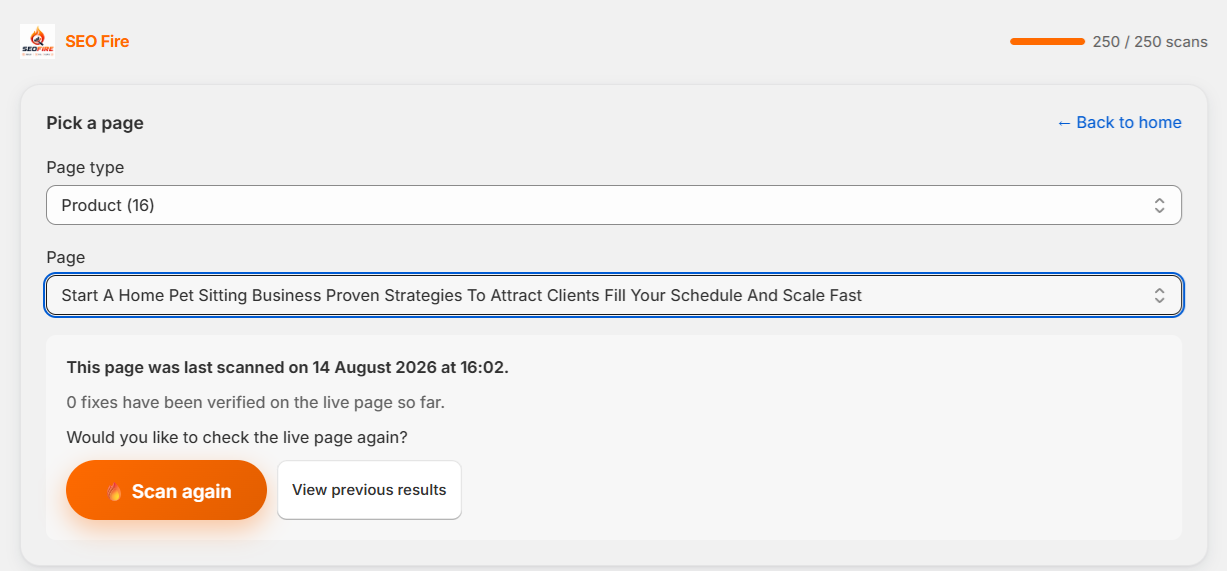
Scan again, or view what you found last time.

If you've scanned this exact page before, SEO Fire shows you when and how many fixes have been verified since, and gives you two honest choices: Scan again (a fresh, live check) or View previous results (free, no new scan spent — just what's already on file). SEO Fire never re-scans automatically just because you opened a page.

Previous scan card with Scan Again and View previous results buttons
Previous scan card.
2.3

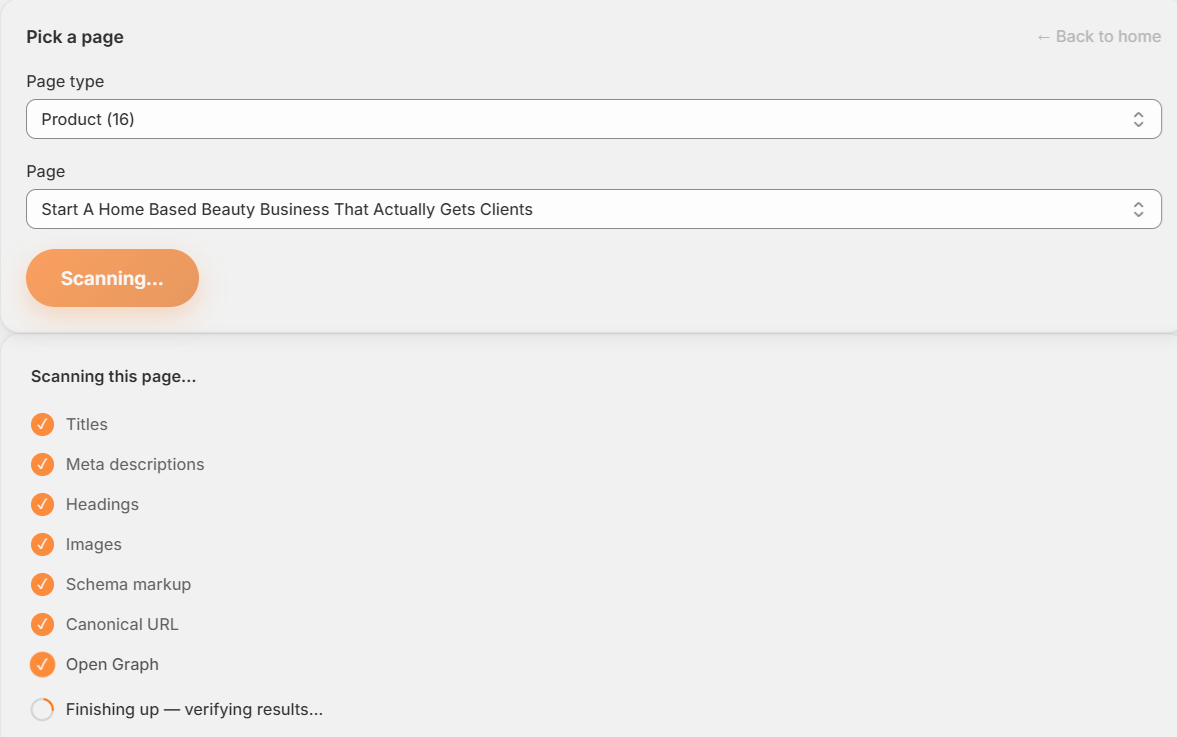
Watch it scan.

While a scan runs, you'll see exactly what's being checked — Titles, Meta descriptions, Headings, Images, Schema markup, Canonical URL, Open Graph — finishing with "Finishing up — verifying results…" A single page usually takes a few seconds.

Scanning checklist mid-progress with items checked off
Scan in progress.
2.4

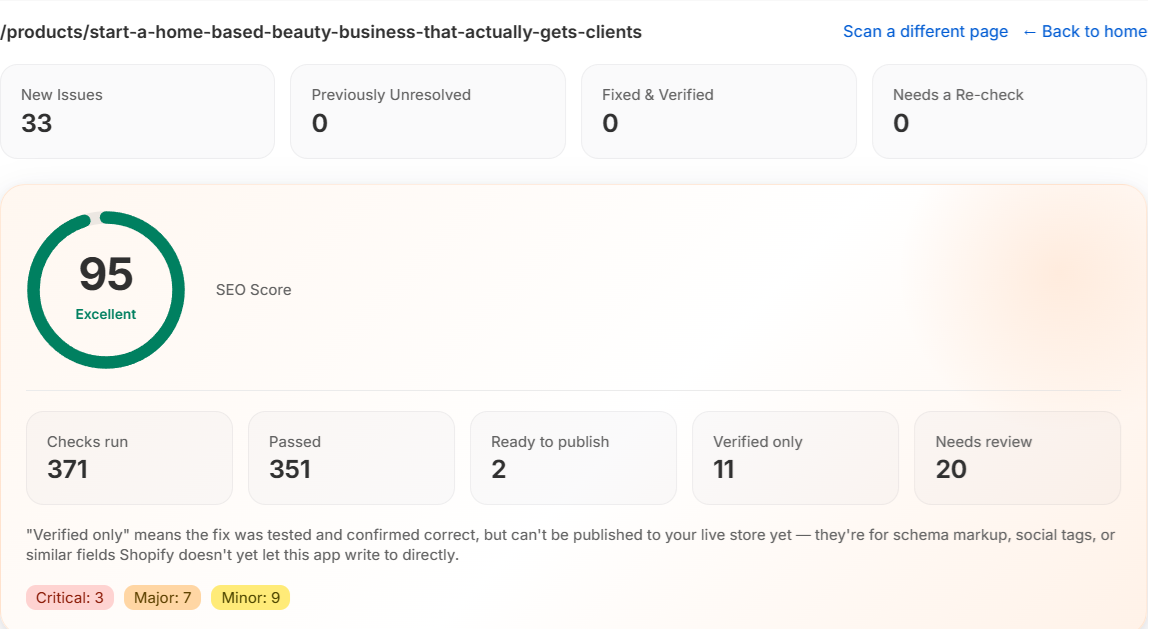
Read your results.

At the top: New Issues, Previously Unresolved, Fixed & Verified, and Needs a Re-check — a clear, at-a-glance comparison against your last scan. Below that, your overall SEO Score as a ring (e.g. "87 · Very Good"), and five more numbers: Checks run, Passed, Ready to publish, Verified only, and Needs review. Every one of these is clickable — click a number to see exactly which checks it refers to.

Scan results header with score ring and summary tiles
Scan results — score and summary.
2.5

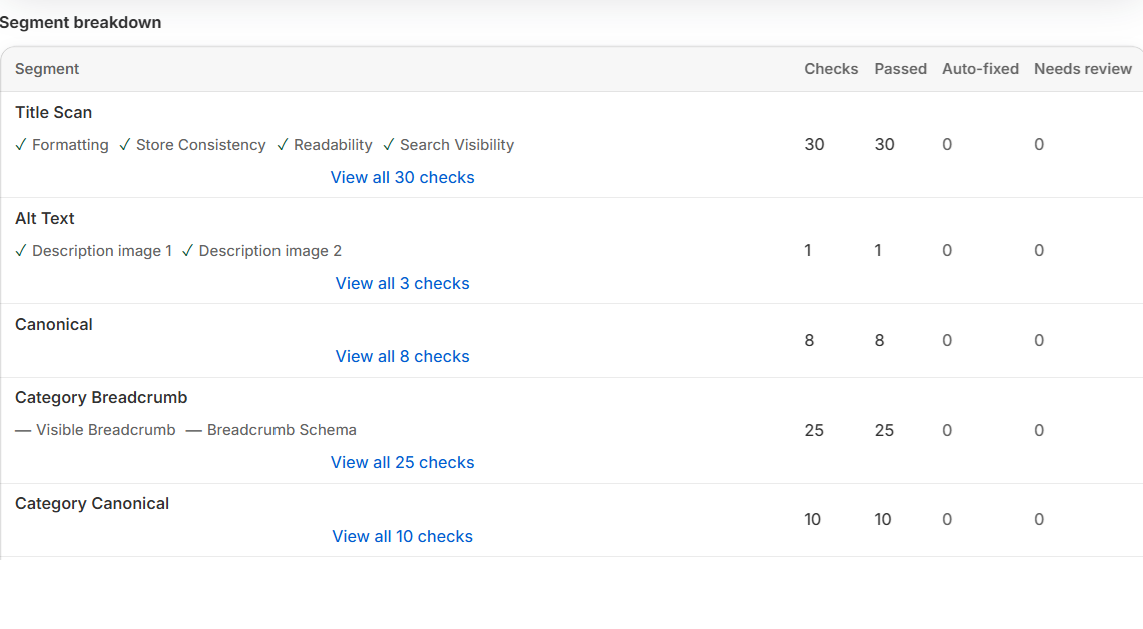
Segment breakdown — and the plain-English "why."

Scroll down and you'll find every category SEO Fire checks — Canonical, Headings, Images, Meta Description, Schema, Social Meta, and more — each with its own Checks / Passed / Auto-fixed / Needs review counts. Click "View all N checks" under any segment and SEO Fire opens the actual questions it asked and what it found — not a vague pass/fail, a real answer like "Does this page have a canonical URL? ✓ Yes — this page's canonical URL is https://yourstore.com/."

Segment breakdown table with Checks, Passed, Auto-fixed, and Needs review columns
Segment breakdown and checklist detail.
Step 3

Scan Entire Store.

The same checks, run across your whole catalog at once.

3.1

One click, up to 25 pages.

From the home screen, click Scan Entire Store, then Scan my store. SEO Fire checks up to 25 pages per batch — including product titles — and this can take a while, since it's running every check on every page. If your store has more than 25 pages, you can keep going in further batches of 25 afterward.

This uses your regular scan allowance one page at a time, same as scanning pages individually — a 25-page batch spends up to 25 scans (fewer if any of those pages were already scanned this billing period).

Scan Entire Store start screen
Scan Entire Store — start screen.
Step 4

Broken Links & Redirects.

A separate, deeper check — every link on a page, followed for real.

4.1

Pick a page, and SEO Fire checks every link on it.

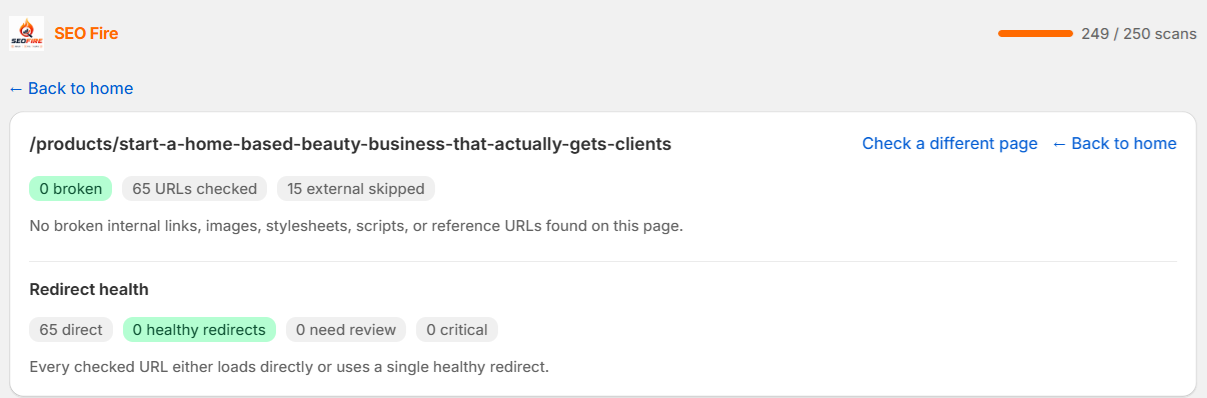
Click 🔗 Broken Links & Redirects, pick a page type the same way as a regular scan, then Check for broken links. This checks every internal link, image, stylesheet, script, canonical, hreflang, and structured-data URL on that page for real — plus the health of any redirects along the way. It runs separately from a regular SEO scan, since it makes a live request to each URL it finds.

Results show a clean summary — how many URLs were checked, how many were broken, how many external links were skipped — plus a Redirect health section breaking down direct loads versus healthy, needs-review, or critical redirect chains.

Broken Links and Redirects results with redirect health row
Broken Links & Redirects results.
Step 5

Local SEO.

One question that keeps SEO Fire from ever guessing about your business.

5.1

Open Local SEO from the app menu.

In your Shopify admin's left sidebar, under Apps → SEO Fire, you'll find two extra pages alongside the main dashboard: Billing and Local SEO. Local SEO opens with one question: "Is your business local?" — how does your business actually serve customers:

  • Customers visit my physical location
  • I travel to / serve customers in specific areas
  • I sell online and don't target specific locations
  • I'm not sure

This is the one signal SEO Fire never tries to guess — your answer always takes priority over anything it detects automatically from your store's data.

Is your business local question with four radio options
Local SEO — business type question.
5.2

Correct anything SEO Fire got wrong.

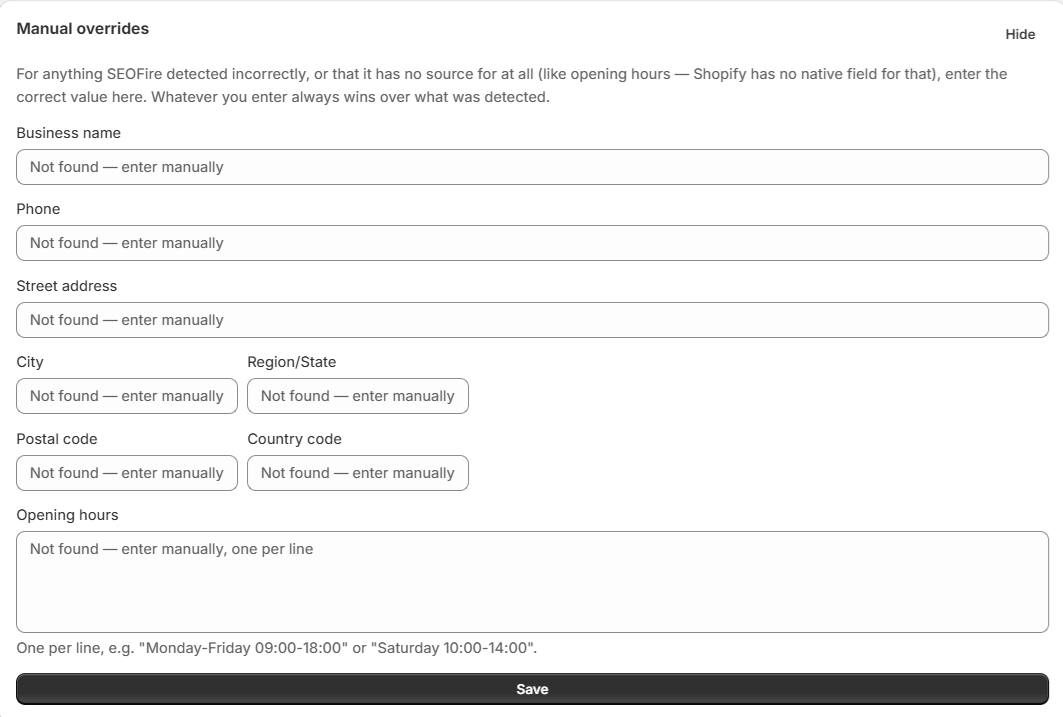
Below that, Manual overrides lets you fix anything SEO Fire detected incorrectly, or fill in something it has no source for at all — like opening hours, which Shopify has no native field for. Whatever you enter here always wins over what was automatically detected.

Manual overrides section for Local SEO
Local SEO — manual overrides.
Need a hand?

We're a real inbox, not a bot.

Questions about a scan result, your billing, or anything else — email us and a person will answer.

Ready to scan your first page?

Start the 7-day free trial — 25 scans included, no card required to try it.